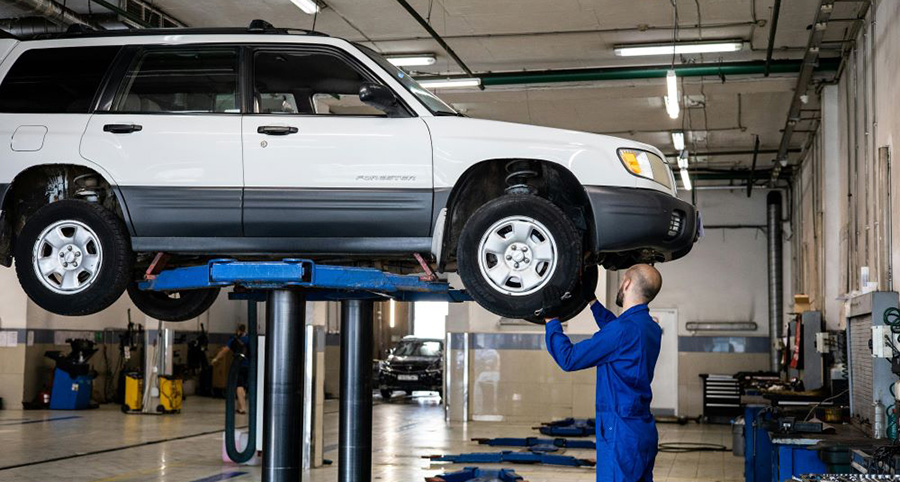
Brake repairs attract many DIY mechanics because the job appears straightforward. Pads wear out, rotors get swapped, and the vehicle returns to the road. Still, common brake maintenance mistakes appear during simple jobs more often than expected. These errors usually come from focusing on parts instead of system behavior.
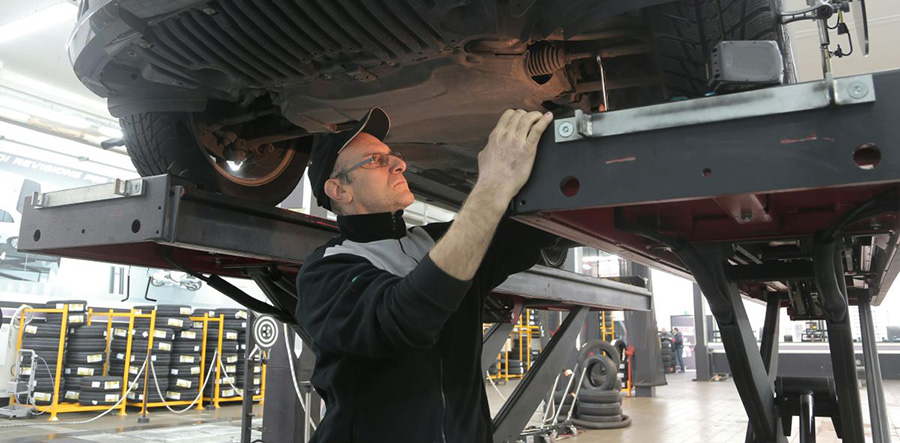
To start, brakes rely on balance, heat control, and consistent movement. A mistake in one area affects braking feel, noise, and safety. Understanding where DIY repairs fail helps prevent repeat issues and unsafe driving conditions.
Many drivers trust online guides without checking vehicle-specific details. That habit leads to shortcuts and assumptions. At the same time, braking systems differ widely across models and years. Caliper designs, pad styles, and torque values change often. Treating all brake jobs the same increases failure risk. Awareness and patience improve results far more than speed. If you are new to changing your brakes, you may be wondering “When Should You Change Your Brakes?“.
Skipping Proper Brake System Inspection
DIY brake changes often begin with a single symptom. Noise, vibration, or poor stopping triggers part replacement. In many cases, that approach skips system inspection entirely. A squeal may suggest worn pads, but the real cause could be seized hardware. Visual checks alone fail to reveal hidden problems inside hoses or calipers. Without inspection, the repair treats symptoms instead of causes.
A complete inspection includes pad wear patterns, rotor condition, and caliper movement. Uneven wear usually signals slide pin issues. Cracked hoses can restrict fluid return and cause brake drag. Caliper pistons may retract poorly due to corrosion. From experience, skipping inspection often results in repeat repairs within weeks. Careful evaluation saves time and money over the long term.

Reusing Old Hardware to Save Time
Brake hardware rarely gets attention during DIY repairs. Clips, pins, and springs seem reusable after cleaning. In reality, these parts wear and weaken under constant heat cycles. Old clips lose tension and allow pad movement. That movement causes noise during braking and bumps. Reusing worn hardware undermines even high-quality pads.
Slide pins suffer most when reused without inspection. Corrosion builds under damaged boots. Restricted pins prevent even pad pressure. One pad may wear faster while the other barely touches the rotor. Over time, this leads to pulling during braking and overheated components. Hardware kits cost little and restore proper pad control. Skipping them risks uneven wear and return visits.
Avoid Brake Maintenance Mistakes When Moving Your Garage
DIY mechanics often underestimate how vulnerable brake components become during a garage move or major reorganization. Preparing it for the move—specifically how to pack your garage items for relocation—plays a critical role in keeping brake parts usable and uncontaminated. These components react poorly to moisture, dirt, and uneven pressure, and careless packing can ruin them before installation ever starts. Brake fluid must remain tightly sealed and stored upright, since exposure to air quickly degrades its performance.
Rotors need flat, stable support during transport to prevent warping, while pads should stay in their original packaging to protect friction surfaces from oil or dust. Small hardware pieces belong in labeled, sealed containers to avoid mixing clips and pins. Prioritizing brake parts and storing them away from heavy tools reduces confusion, prevents damage, and saves time during reassembly.

Incorrect Brake Pad Installation Techniques
Pad installation appears simple, yet errors happen often. Some pads look symmetrical, but install only one way. For that reason, checking markings matters. Installing pads backward reduces the contact area and the stopping force. Inner and outer pads often differ slightly. Mixing them causes a poor braking feel and noise.
Anti-rattle clips and shims also demand attention. Clips must seat fully in the bracket. Bent or loose clips allow pads to shift. Shims reduce vibration between the pad and the caliper piston. Missing or misplaced shims increase squeal complaints. In addition, pads should slide freely before caliper installation. Resistance during assembly predicts future drag.
Ignoring Proper Brake Lubrication Practices
Lubrication mistakes remain common during DIY brake work. Some mechanics apply grease everywhere. Others avoid grease entirely. Both approaches create problems. Brake grease belongs only on specific contact points. Applying grease to friction surfaces ruins braking ability and attracts debris.
Slide pins require high-temperature brake grease. General grease breaks down under heat. It swells rubber boots and traps moisture. Trapped moisture accelerates corrosion. Dry contact points cause squeaks and uneven pad wear. As a result, proper lubrication supports smooth pad movement and quiet operation. Also, be careful when washing car parts so you don’t remove lubricants. Correct placement matters more than quantity.
Common brake maintenance mistakes During Rotor Service
Rotor service involves more than swapping discs. Many common brake maintenance mistakes happen at this stage. Hub surfaces often remain dirty during installation. Rust and debris cause rotor runout. That runout leads to pedal pulsation soon after repair. Cleaning the hub ensures flat rotor mounting.
Measuring rotors before installation prevents wasted labor. New rotors sometimes arrive warped. Installing them unchecked guarantees vibration complaints. Lug nut torque also matters. Impact tools tighten unevenly and distort rotors. Consequently, hand torquing in a star pattern reduces warping risk. Proper rotor handling protects braking smoothness.
Improper Brake Fluid Handling and Bleeding
Brake fluid plays a critical role in stopping power. DIY mechanics often underestimate their sensitivity. In contrast, professionals treat fluid carefully. Brake fluid absorbs moisture from the air quickly. Leaving reservoirs open invites contamination. Moisture lowers the boiling point and causes fade under heat.
Using incorrect fluid types creates seal damage. DOT ratings matter and vary by vehicle. Mixing fluids risks system failure. Bleeding errors also occur frequently. Incomplete bleeding leaves air in lines. Air compresses and creates a soft pedal. Because of this, following proper bleeding sequences restores a firm braking response.
Forgetting the Brake Bedding Process
Many DIY mechanics finish brake work and drive normally. Bedding rarely gets mentioned in casual guides. Yet, bedding plays a key role in brake performance. Pads and rotors need controlled heat cycles to mate properly. Skipping this step leads to uneven material transfer.
Uneven transfer causes vibration and noise. Aggressive braking too soon overheats new pads. That heat creates glazing and reduces friction. Each manufacturer provides bedding guidelines. By following them, pads achieve full contact and consistent braking. Bedding also extends pad and rotor life.
Overlooking Torque Specifications
Torque values exist for a reason. DIY mechanics often rely on feel instead of tools. Unfortunately, hand-tight estimates vary widely. Caliper bolts overtightened can strip threads. Undertightened bolts loosen over time. Both situations create safety risks.
Wheel lug torque affects rotor health. Uneven torque distorts rotors during driving. That distortion leads to pulsation and steering shake. Torque wrenches ensure even clamping force. In everyday repairs, proper torque prevents noise, vibration, and component failure. Precision here protects the entire brake system.
Summary: Avoiding Costly Brake Errors
DIY brake repairs succeed with patience and knowledge. Speed and shortcuts increase risk. Overall, avoiding common brake maintenance mistakes improves safety and driving confidence. Each step matters, from inspection to final torque. Brakes operate as a system, not isolated parts. Respecting that system leads to quiet operation, strong stopping power, and fewer repeat repairs.
Auto Mechanics Guide and Tips
Learn Automotive Repair And Maintenance For Beginner's

FREE Guide that can take any newbie into a DIY Home Mechanic. Save yourself big bucks on regular maintenance and routine diagnostics. Be in the know of what is wrong with your vehicle before getting taken advantage of at the big shops...