
The fenders are in the bedroom, the carburetor on the shelf, and a coffee can full of bolts holds the details. Moving a partially disassembled project car turns lovable chaos into a puzzle. The real challenge isn’t the chassis—it’s keeping every bracket and fastener from vanishing during the move.
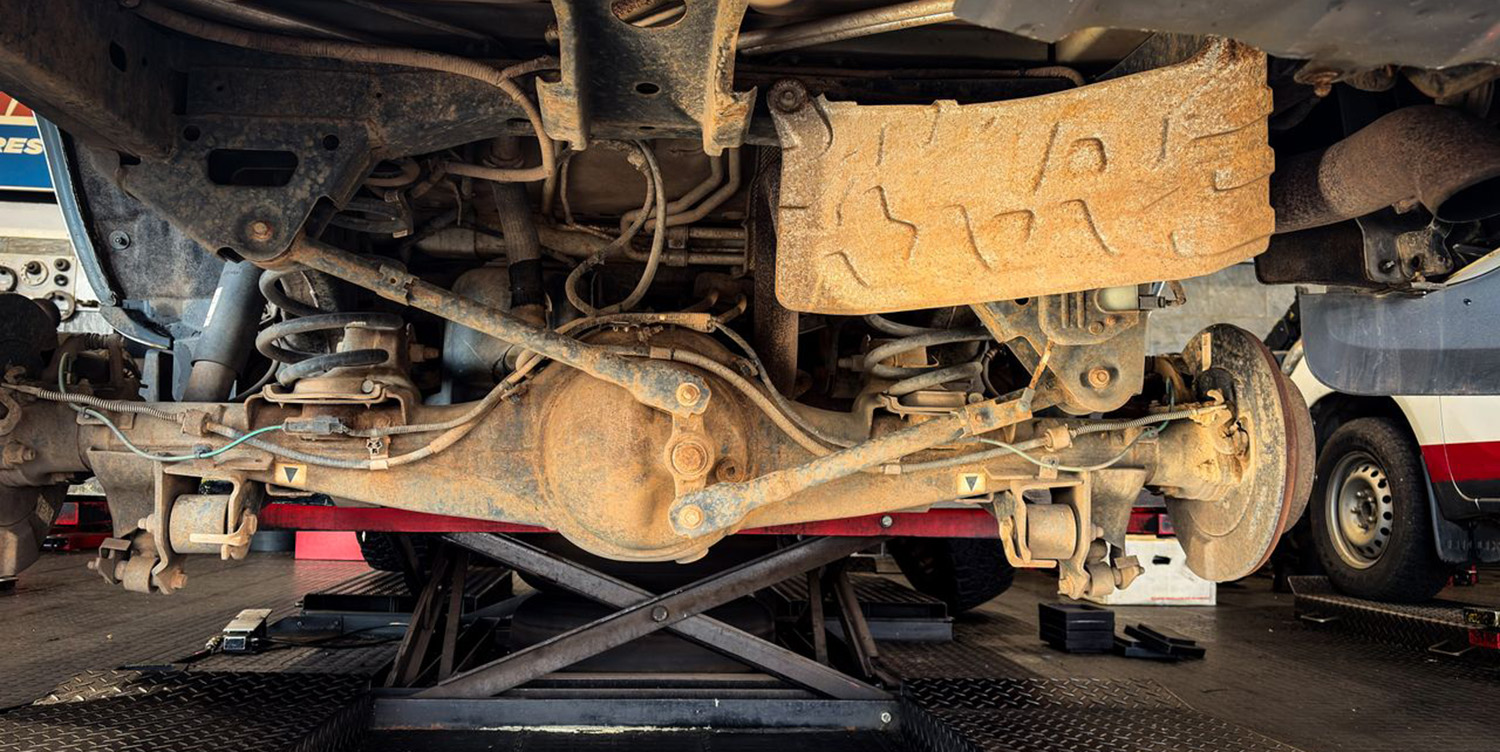
Every project car owner knows the feeling. The fenders live in the spare bedroom, the carburetor sits on a kitchen shelf, and a coffee can full of bolts holds secrets nobody remembers. Then a move comes along and turns that lovable chaos into a puzzle with a deadline. If you need to move a partially disassembled project car, the real challenge isn’t the chassis. It’s keeping hundreds of small parts, brackets, and fasteners from vanishing between the old garage and the new one. With a simple tracking system and a little prep, your build can arrive in better shape than it left.
Why Do Project Cars Lose Parts During a Move?
Project cars lose parts during a move because components are scattered, unlabeled, and packed in a hurry. A rebuild that has stretched over several years often spreads across shelves, bins, attics, and the occasional friend’s garage. Moving day compresses all of that into a few frantic hours. That’s when a lone throttle linkage ends up in a box marked “kitchen.” Helpers make it worse with the best intentions, since a friend carrying boxes has no idea which bracket belongs to which car.
Deciding what makes the trip is the smart first move. Sorting through the parts worth taking with you cuts down the pile before packing begins. Fewer parts mean fewer chances to lose the ones you actually need.
What Should You Pack Before Moving Day?
Pack small parts in sealed, labeled containers before the truck ever shows up. Loose hardware, gaskets, and trim clips need bags and bins that close tightly, stack neatly, and survive a bumpy ride. Grab heavy-duty zip bags, clear plastic bins with lids, permanent markers, painter’s tape, and plenty of moving blankets. It pays to have the right supplies on hand before the first bolt comes off, so you never end up tossing parts into a grocery bag at midnight. Stretch wrap also works wonders for holding small brackets to the larger parts they belong to.
How Do You Move a Partially Disassembled Project Car Step by Step?
You move it by documenting everything, packing parts by system, and keeping the most irreplaceable items close. The goal is to unpack at the new garage and know exactly where each piece belongs. Follow these steps:
- Photograph everything first. Shoot each assembly from several angles, plus close-ups of wiring routes and bracket positions.
- Start a teardown log. Use a simple spreadsheet with columns for part, bag number, bin number, and condition.
- Bag and tag by system. Give each system a code, such as BR for brakes or EL for electrical, then number bags in order: BR-01, BR-02, and so on.
- Bundle subassemblies. Keep complete units, like a door with its hinges and handle, together rather than splitting them up.
- Pack heavy parts separately. Cylinder heads, transmissions, and rear ends need their own padded spots, away from delicate trim.
- Carry the irreplaceables yourself. Keep the title, keys, VIN plate, and rare fasteners in your own vehicle.
A few habits keep the system honest:
- Write the bag number on painter’s tape stuck directly to large parts
- Drop a printed copy of the teardown log into every bin
- Snap a photo of each bin’s contents before sealing the lid
- Keep a “mystery bolts” bag for anything you can’t identify right away
Heavy and awkward components deserve extra attention during loading. The basics of transporting tools and car parts, such as padding sharp edges and strapping toolboxes down, keep a sudden stop from turning your parts into projectiles.
How Do You Secure a Rolling Chassis for the Trip?
You secure a rolling chassis with a proper trailer, wheel straps, and at least four independent tie-down points. A rolling chassis is a car frame that still has wheels and suspension, so it can roll but can’t drive under its own power. Use a winch to load it, then strap each wheel rather than pulling down hard on suspension parts.
The FMCSA’s cargo securement rules set the standards commercial haulers follow, and they make a helpful benchmark for DIY towing too. They focus on the number and strength of tie-downs needed to keep cargo from shifting. Before loading, disconnect or remove the battery and drain any fluids that could leak from open lines. A drip pan zip-tied under the engine bay can save the trailer deck from a slow, messy surprise. Stop after the first 25 miles to recheck every strap, since loads tend to settle early.
What Should Happen When the Car Reaches Its New Garage?
When the car reaches its new garage, set up storage before unpacking a single bag. Install shelving, assign a spot to each system code, and keep the teardown log within arm’s reach. Unpack one system at a time, checking each bag against the log as it lands on the shelf. If a bag goes missing, the photos and bin snapshots usually reveal where it ended up within minutes. Celebrate the first fully accounted-for system, because that small win keeps momentum alive for the rest of the build.
A smaller new garage may force some tough choices. Ideas for handling spare wheels, tires, and auto parts when downsizing your garage can help you make room without giving up on the build.
Which Bag Will You Label First?
Moving a project car in pieces doesn’t have to end with a missing bracket and a weekend of swearing. When you move a partially disassembled project car with photos, a teardown log, and a bag-and-tag system, every part has a home before it leaves the old garage. Grab a roll of painter’s tape this weekend, pick your first system, and start labeling. Your future self, wrench in hand, will thank you.

Join RodsShop Newsletter!
Keep up to date with the latest post, "How To' information, Products and much more. I will never blow up your inbox with useless info. My mission is to help the DIY car enthusiast.
I agree to receive emails from RodsShop, Privacy Policy and Terms